The Transformative Power of Learning to Sketch in Three Dimensions
In a world where visual communication and design play a vital role, the ability to sketch in three dimensions holds immense value. While traditional two-dimensional sketches serve their purpose, the leap into the realm of three-dimensional sketching can unlock a myriad of benefits. Mastering this skill not only enhances one’s ability to visualize designs but also nurtures creative thinking and simplifies the process of transforming ideas into tangible creations. This essay explores the profound importance of learning how to sketch in three dimensions, highlighting its capacity to develop the mind’s ability to visualize, enhance creative aptitude, and facilitate the realization of ideas from scratch.
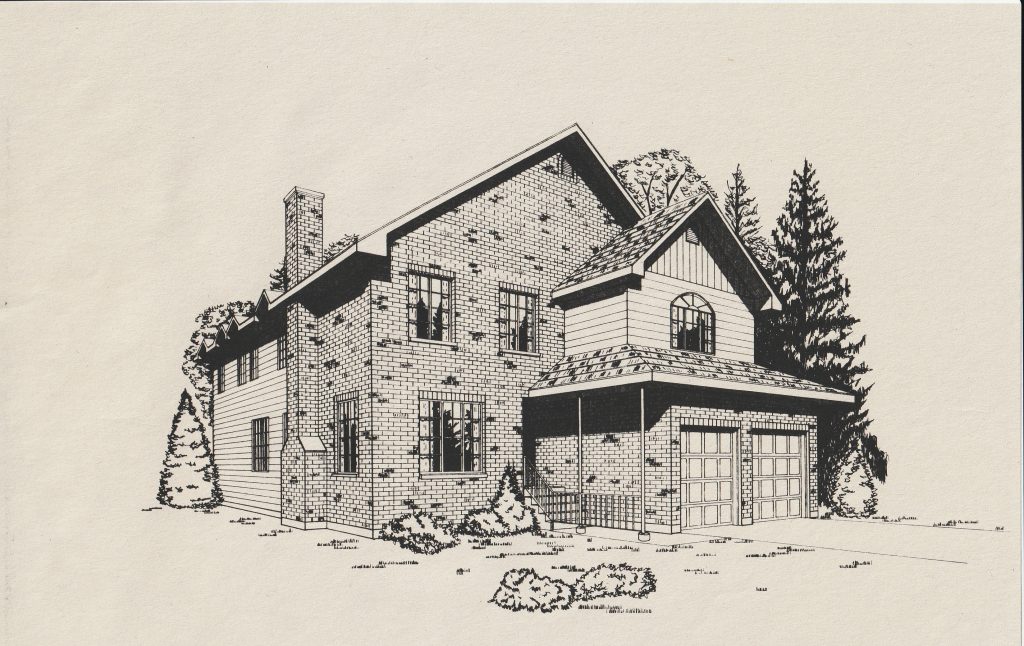
- Developing Visualization Skills: Learning to sketch in three dimensions helps individuals transcend the limitations of a flat canvas and unlocks a whole new dimension of spatial perception. By training the mind to think in three dimensions, sketching enables us to better understand the interplay of depth, volume, and perspective in our designs. It allows us to accurately represent the relationships between different elements and visualize how they fit together in physical space. This heightened visualization ability becomes an invaluable asset across various disciplines, including architecture, engineering, industrial design, and even the visual arts.
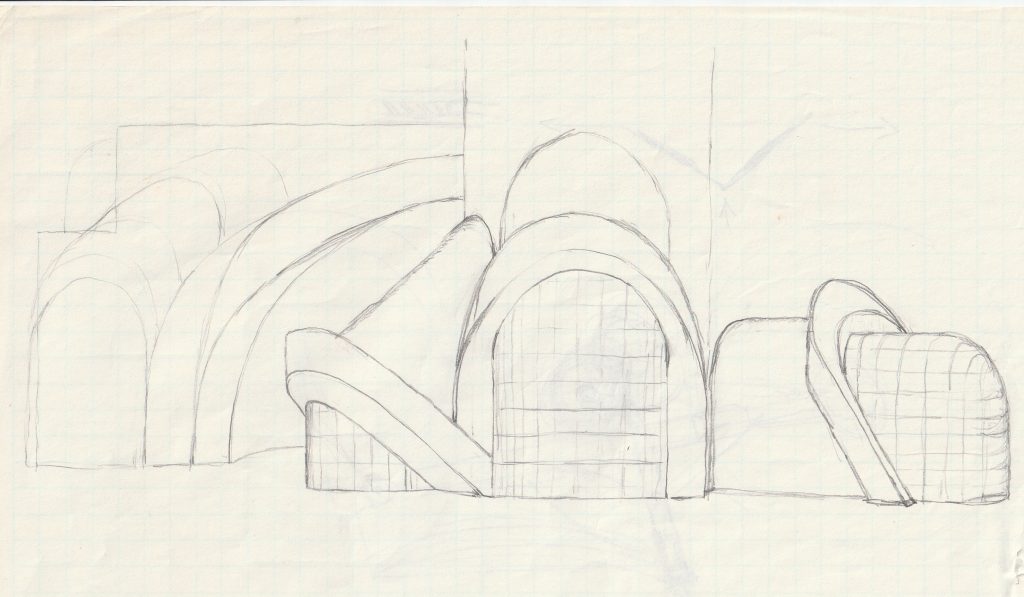
- Enhancing Creative Abilities: The process of sketching in three dimensions engages the mind in a unique way, fostering a deeper connection between our thoughts and their manifestation on paper. By representing ideas spatially, we can explore different angles, manipulate forms, and experiment with variations more effectively. Three-dimensional sketching encourages a fluid and flexible mindset, as it invites the exploration of multiple perspectives and encourages out-of-the-box thinking. This creative freedom and increased imaginative capacity not only elevate the quality of our designs but also pave the way for innovative solutions to complex problems.
- Simplifying Idea Realization: Sketching in three dimensions is a bridge between ideation and execution. It allows us to communicate our concepts more precisely and effectively to others, such as collaborators, clients, or manufacturers. With three-dimensional sketches, we can express the intended form, scale, and proportions of our ideas, making it easier for others to understand and provide feedback. Moreover, these sketches serve as a roadmap during the construction or prototyping phase, enabling the smooth translation of concepts into reality. By reducing ambiguity and facilitating clearer communication, three-dimensional sketching streamlines the process of bringing ideas to life.
- Stimulating Iterative Design: Iterative design, characterized by a cyclical process of refining and improving upon initial ideas, thrives when supported by three-dimensional sketching. By providing a tangible representation of a concept, three-dimensional sketches offer a platform for evaluation and iteration. They enable designers to observe and assess their ideas from multiple angles, identify areas for improvement, and make informed modifications. This iterative approach not only enhances the quality of the final product but also encourages continuous learning and growth, fostering an environment of innovation and progress.
Learning how to sketch in three dimensions is an invaluable skill that unlocks a plethora of benefits. It enhances our ability to visualize designs, enabling a deeper understanding of spatial relationships. It nurtures our creative abilities, fostering imaginative thinking and innovative solutions. Furthermore, it simplifies the realization of ideas, facilitating clearer communication and streamlined execution. By embracing the power of three-dimensional sketching, we equip ourselves with a versatile tool that transcends disciplines and empowers us to manifest our ideas from scratch with clarity and precision.